Seed Starting Begins – Year 2!

Hello readers!

This past week we officially started the 2018 garden season by getting certain seeds prepped to germinate. We, of course, used the paper towel method. As a result, Green Sprouting Calabrese broccoli and a few Cayenne peppers germinated within 1 day, Early Acre cabbage germinated around 2 days, and Listada de Gandia eggplant took around 4 days. We have had a couple Etiuda pepper, Banana pepper, and some more Cayenne peppers that germinated within 5 days.

Now, my favorite part about these happenings fellow gardeners, is that the Cayenne and Banana peppers were seeds I was able to save from heirloom seeds grown last season. Therefore, they were grown in our environment, experienced surviving in our garden, and produced good produce we could save seeds from. Which should mean, it is on track to becoming better adapted to our specific garden over the years. It is also exciting that these have been overall the quickest and easiest to germinate out of all the peppers we are trying to get started.

We also have learned that broccoli grows quickly. Very quickly. Within 1 day, it germinated. Within another couple of days, the seeds had sprouted through their seedling mixture and quickly became a bit leggy. We hadn’t had our light set up created yet for a light source, thinking it wouldn’t be needed yet, so my husband hurriedly put together a light set up to help nourish our little seedlings along. Tomorrow though, the sunshine and warmer temperatures should be returning. Which means the broccoli and cabbage can go into the green house for some light (since we don’t hear the greenhouse, it’s been too cold and too rainy). While we wait for the peppers and eggplant to sprout through the seedling mixture, we have those seedling trays resting on a heating pad (using care to unplug it when it is unsupervised). When I checked on a few this morning, I realized the soil was damp, but cold. And the roots hadn’t grown very much since Monday. So, we turned up the heat!

imageimageimage


What have you started so far this season?

What are you most excited to grow?

And did you have any saved seeds you are planning to grow?


Share your own experiences below in the comments! My husband and I love hearing other gardener tricks to the trade and their experiences!

Until next time, have fun crafting your garden!


Constructive Journaling

Hello readers!

If you’re anything like me, you’ve been going through seed catalogs by now (and trying to narrow down your choices!) My personal list when I first started browsing was full of so many plants and varieties, I would probably need 5x the space I already have – and that’s being kind! But this was an important first step, and I’ll tell you why: brainstorming.

Whenever there is an end goal, there is inevitably some planning involved. Even if it’s just buying plants from a nursery and setting them out in the garden before digging, that still counts as planning in my book! But if you are feeling ambitious or are trying to figure out how to increase yields and improve a garden, or even just want to learn more about the grand hobby, might I suggest journaling? (Insert unnecessary smiley face here – see what I did there?) I’ve mentioned journaling in the blog before. It’s such a useful tool, though, that I decided it’s earned a post entirely dedicated to the topic.

There is no wrong way to journal, and that’s the beauty of it. Even though I recently realized my last two years of journaling are lacking information I find myself currently needing, it doesn’t mean I journaled incorrectly (and neither did you! If this applies). By journaling the past couple of years, I’ve learned what I need to journal and what ended up being more of an unfinished idea – the bare bones of what could have been really awesome to track and reference later. When I journaled before, there wasn’t a lot of stuff I could reference for this year other than where I planted last year (useful for crop rotation). By the way – when did “journal” become a verb instead of a noun?? The last 2 years influenced how I’m journaling this year – and I’m thrilled about this development.

Journaling is a tool that when utilized, can help relieve you of your creative genius and organize your thoughts. When applied to gardening, you end up creating a plan that you have confidence in – and all while creating a reference to yourself in the next seasons.

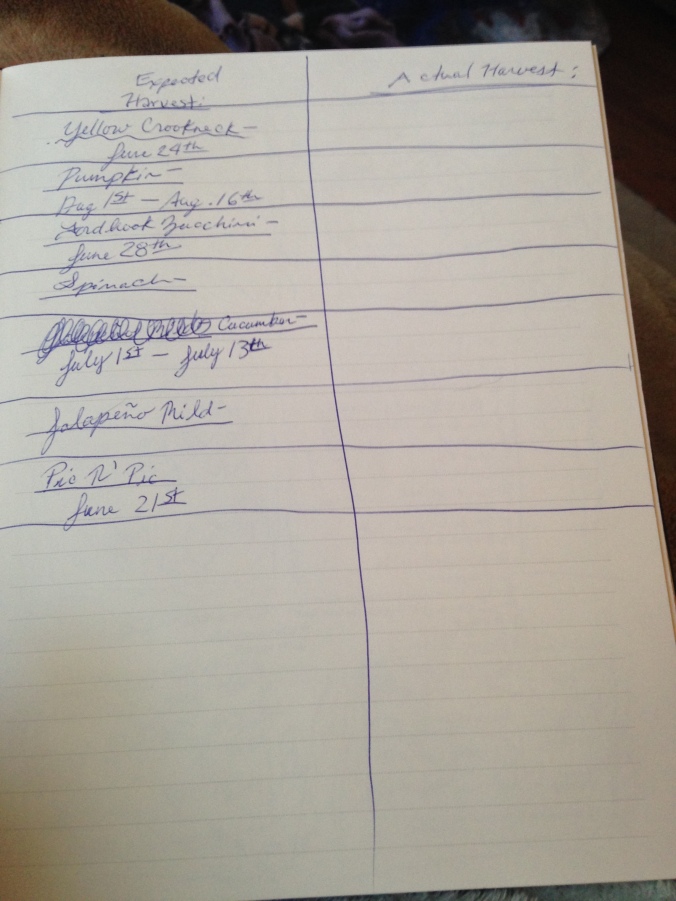
When I journaled in the past, I didn’t do what I would call “constructive journaling”. I started with drawing out possible plans, and then would note what went wrong and what went right. That was 2016 – not our shining year. A late start in the garden, and timing really is important with gardens we discovered.

In 2017, I think constructive journaling began to take shape, although it was still not QUITE there. I had good intentions though, see?

image.jpeg

All of the intention, none of the follow through.

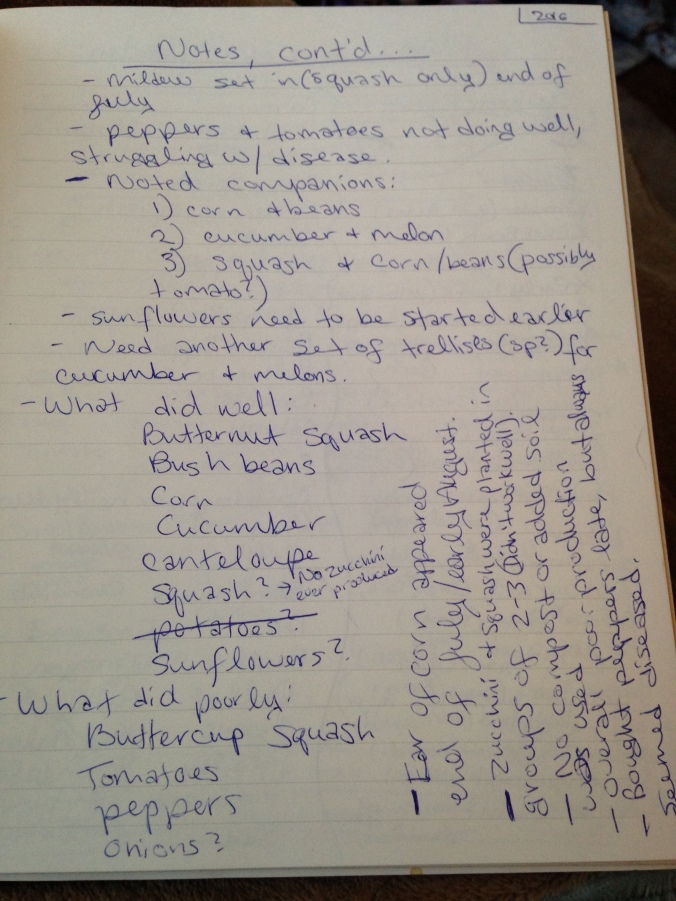
And I almost had good notes for reference, but I’m missing important pieces of the puzzle such as what the weather had been like that winter through summer.

image.jpeg

I even have two or more rounds of the same brainstorming exercises (garden plans, varieties to try, etc). Instead of being linear in my progression, therefor narrowing my thoughts and ideas in a constructive way, I went back and forth. A lot. I had seeds of an idea, but it just hadn’t blossomed yet. (See what I did there? Too much?)

Right. So let’s skip ahead. Past the journaling of 2016, past 2017, and straight to 2018. This is the year I seem to have finally found what works. And perhaps it’ll help you as well to share this year’s journaling technique. This may be dubbed “constructive journaling” (slightly different from the ubiquitous bullet journaling), constructive journaling starts with a BROAD idea and widdles it down into a fine shaped plan.

STEP 1: Brainstorm

image.jpeg

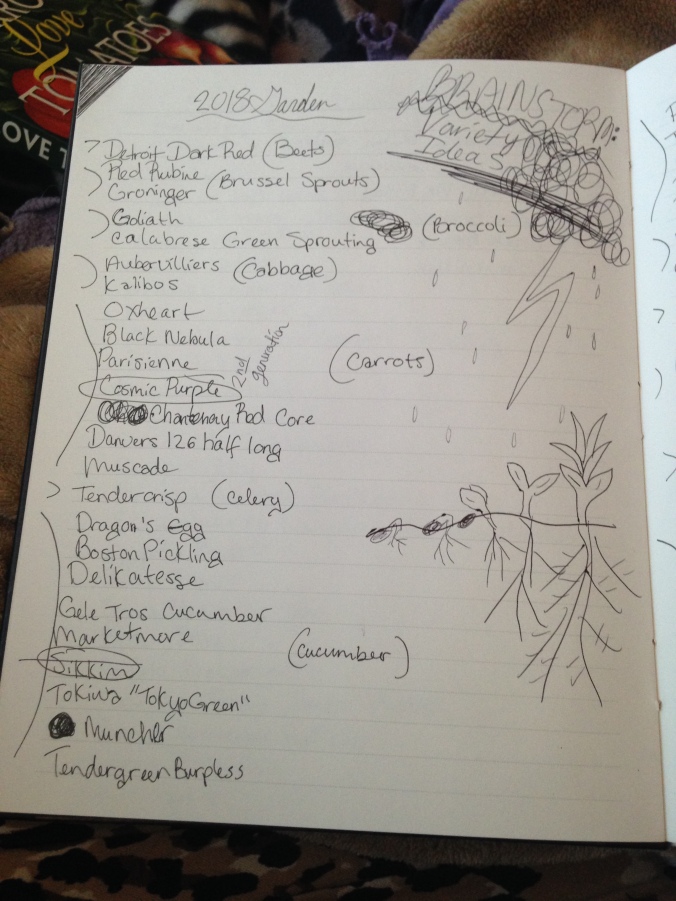
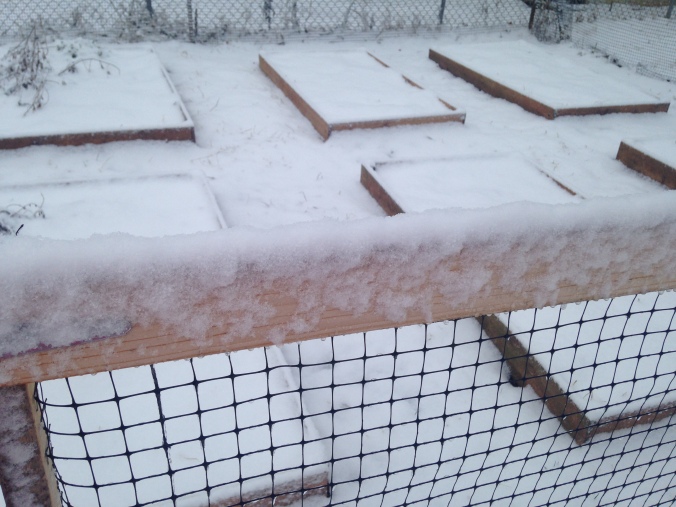
You have the reigns here. You can list, you can doodle, you can write “garden” over and over until you decide. But the whole point is to start brainstorming and daydreaming. If you’re by a warm fire with a cup of tea, you get bonus points. Double bonus points if it’s snowing outside. That is seriously the best time to open up the gardening books, as I’ve probably mentioned before in a previous post.

STEP 2: Do your research

My personal brainstorming went on for a little over 4 pages. Then I started to research. What were the companion plants again? I searched online, and then found this awesome book “Carrots Love Tomatoes”

image.jpeg

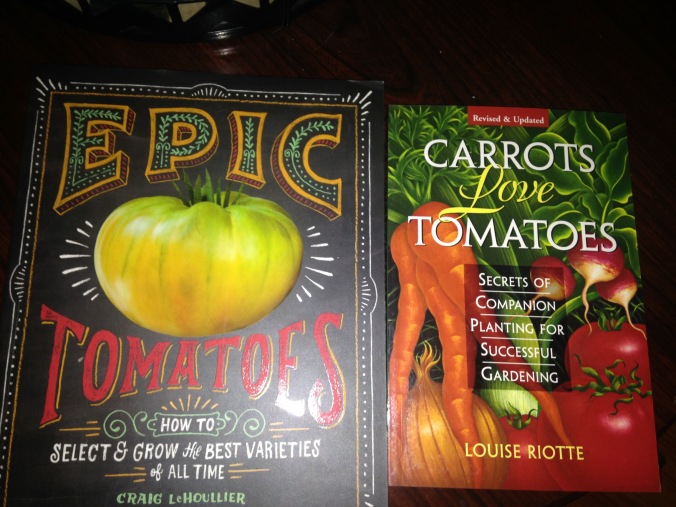
By by the way – “Epic Tomatoes” is also amazing. I got it as a Christmas gift this year, and then used my Barnes and Noble gift card for the other book. So much excitement was felt!

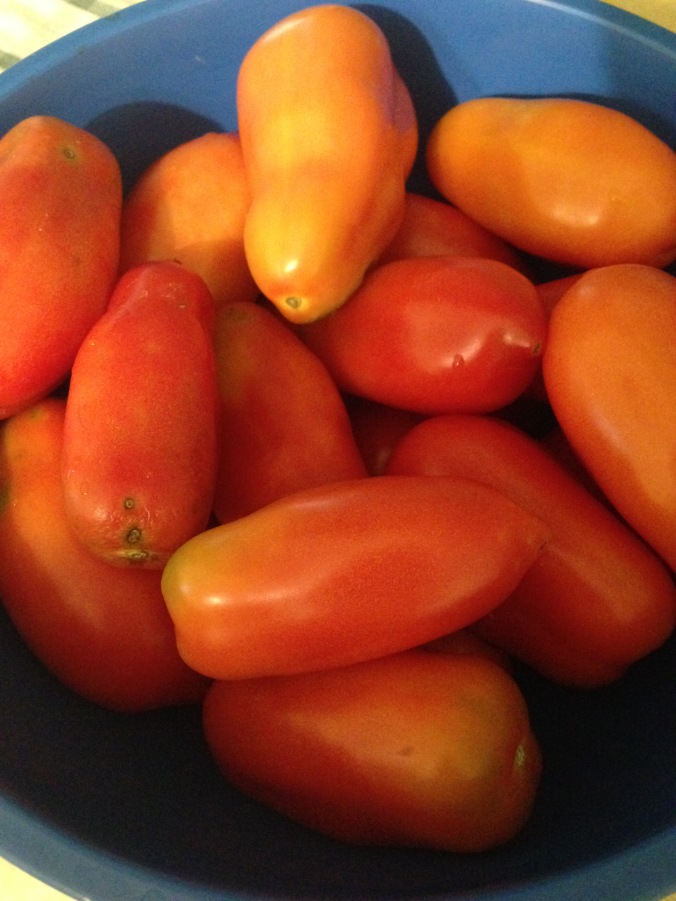
Okay, back to companion plants. “Carrots Love Tomatoes” is a wonderful reference book. The book has greatly influenced my garden plan this year.

STEP 3: Narrow your choices

Here comes the toughest part. You’ve exhausted your exploring by this point, and you may already have some idea of what you want to plant. I wrote out a list of plants at this point, and then the variety/varieties that sounded the best. This took almost as long as brainstorming I’d say, simply because making decisions can be difficult! Just keep in mind, anything that you want to grow but don’t have room for can always make its appearance next year. It helps to remember you’re not saying “never”, just “not this year”.

STEP 4: Create a garden plan

Draw out your garden, then start filling in the plants and varieties. This is the REALLY fun part! The ideas start to be built together and everything begins to take shape!


That’s the basic foundation of constructive journaling. After you’ve reached this point, you may discover some additional things to track (that are also very constructive to the future gardens, might I add).

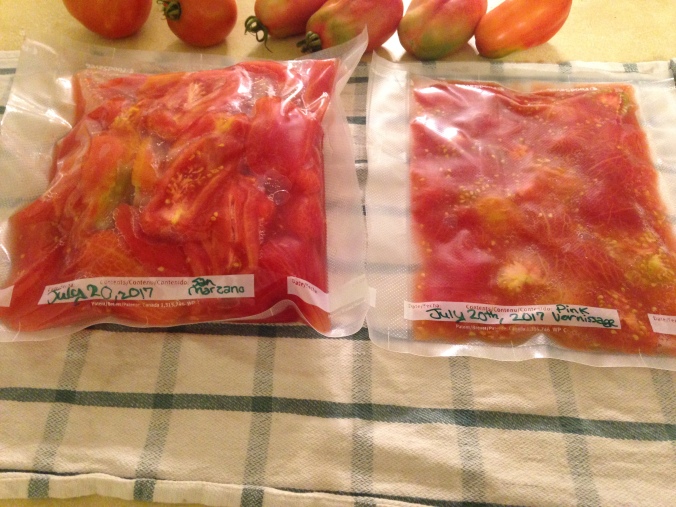
As previously mentioned, there is some information in previous journaling I found lacking. In my planning for 2018, I realized I didn’t have some information in my journal. Like how many seedlings did I start last year and how many of those actually made it to the garden? This year, I’m tracking that. Along with the date the seeds were started. That information was loosely tracked in this blog, but this year it’ll be noted in my journal for reference.

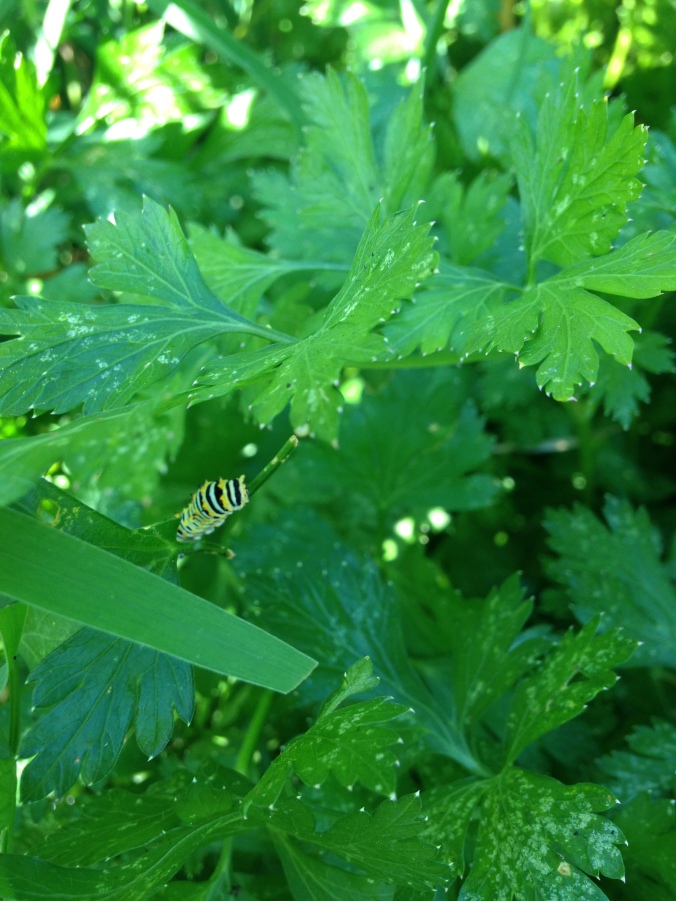
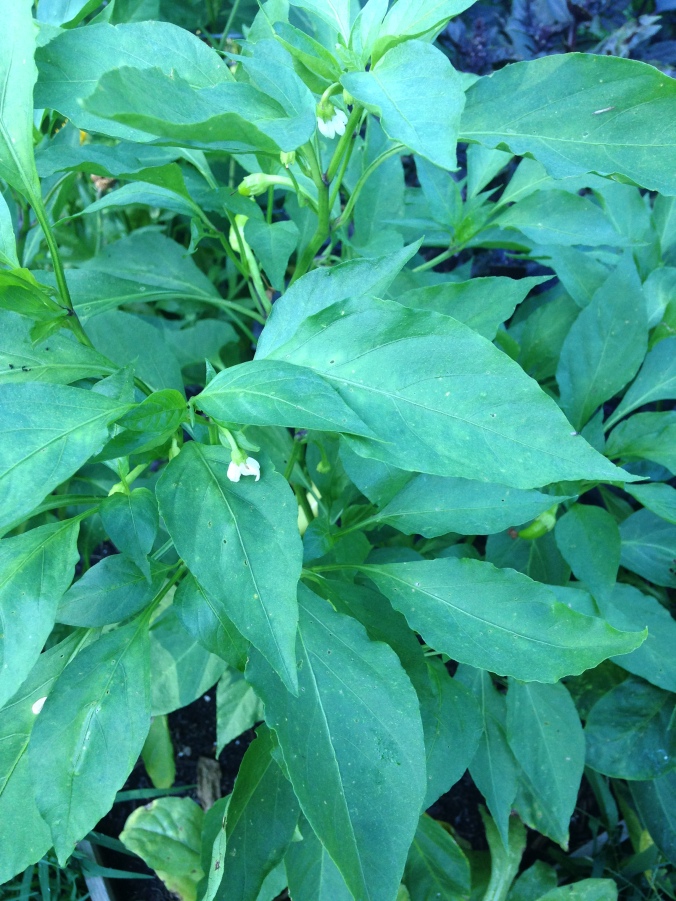
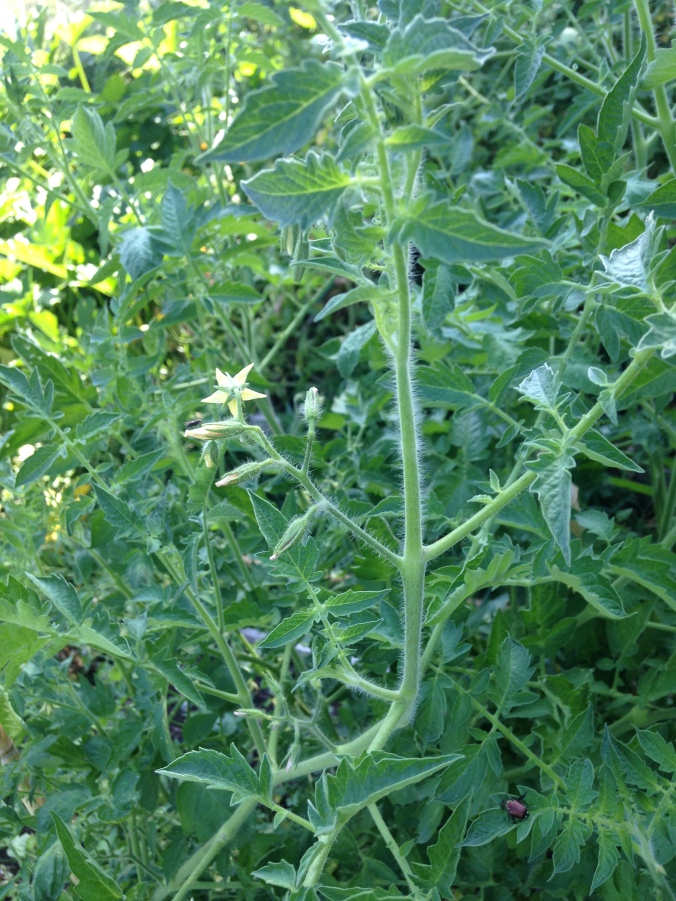
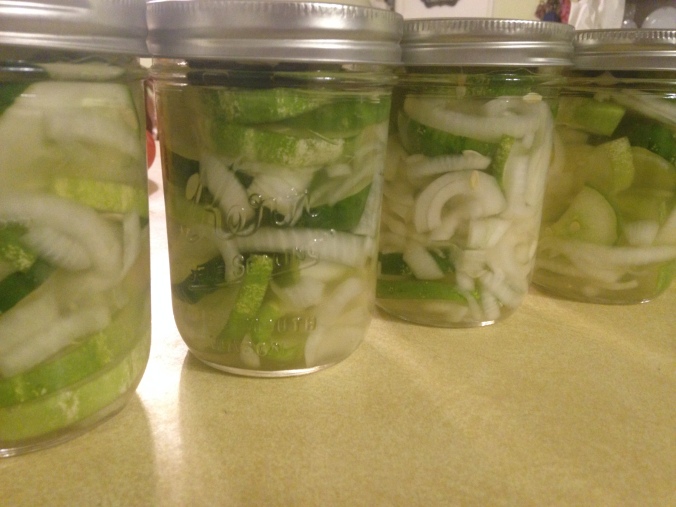
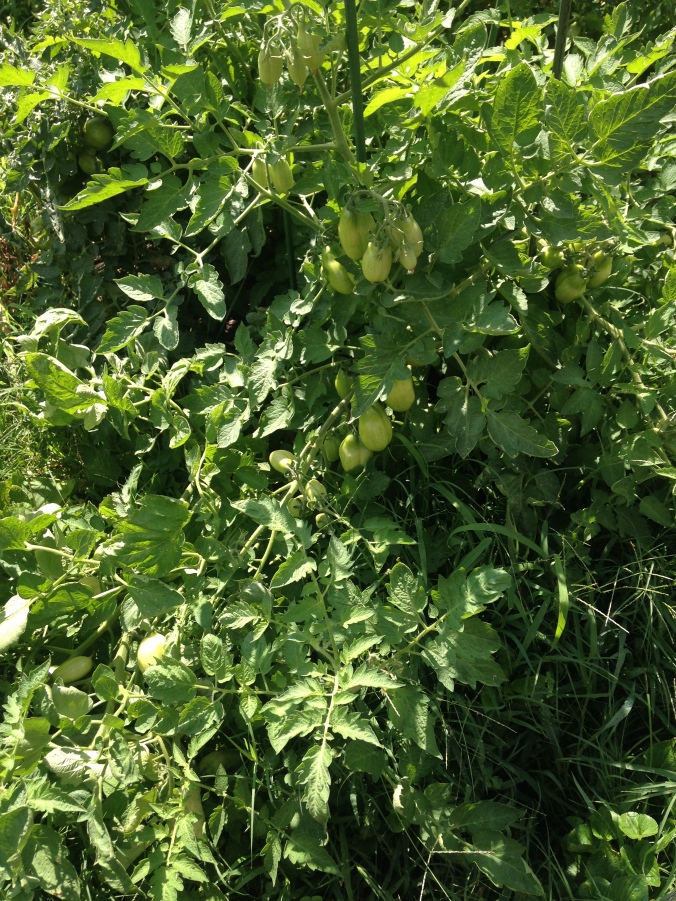
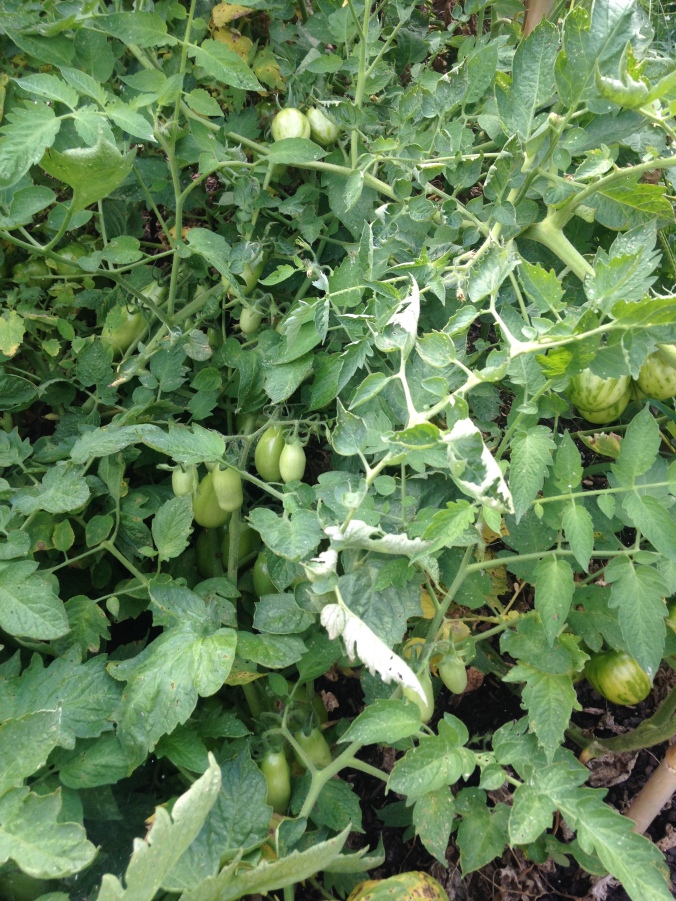
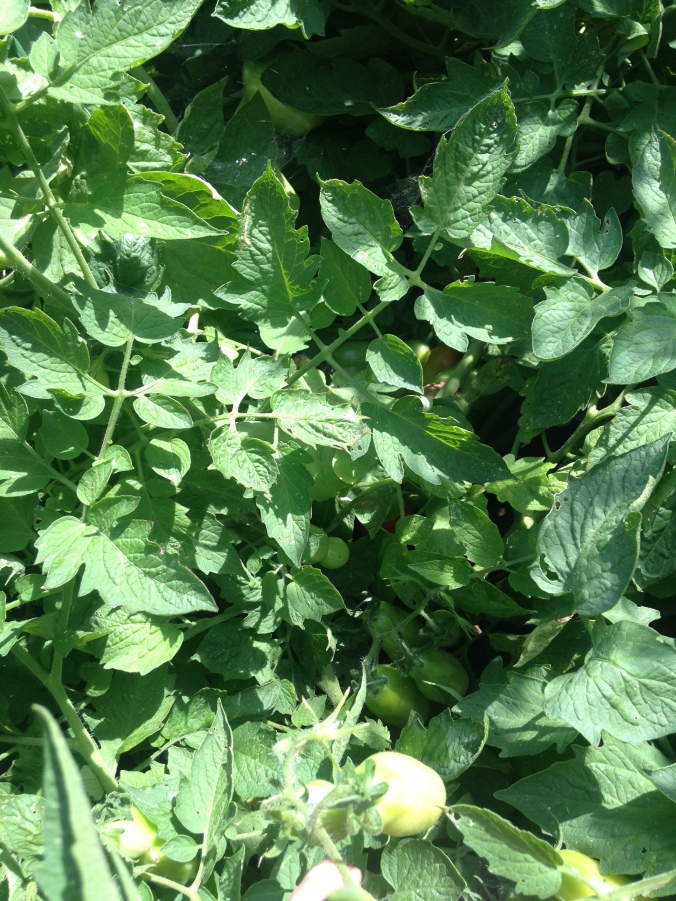
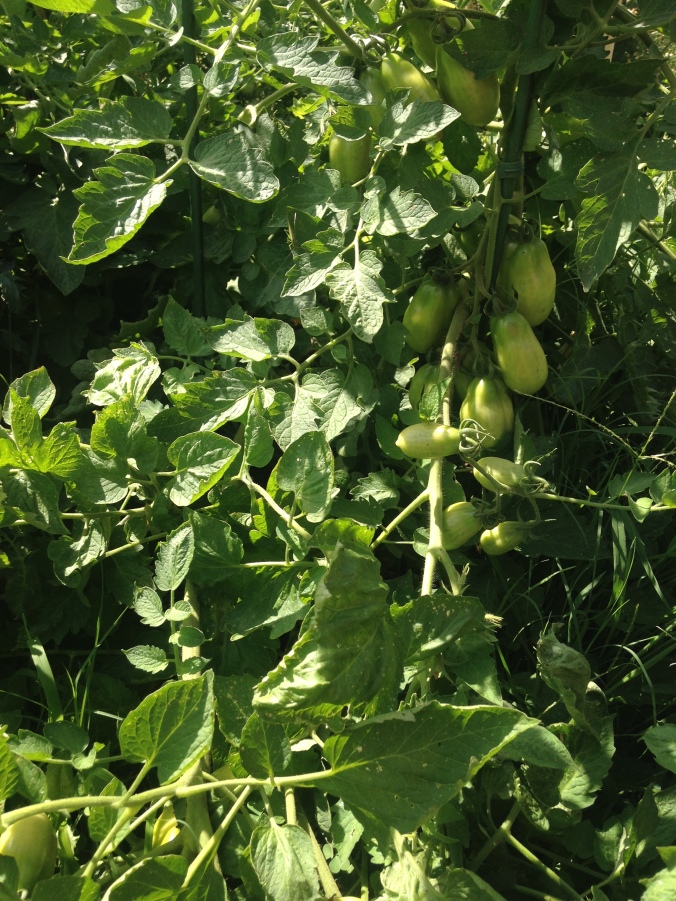
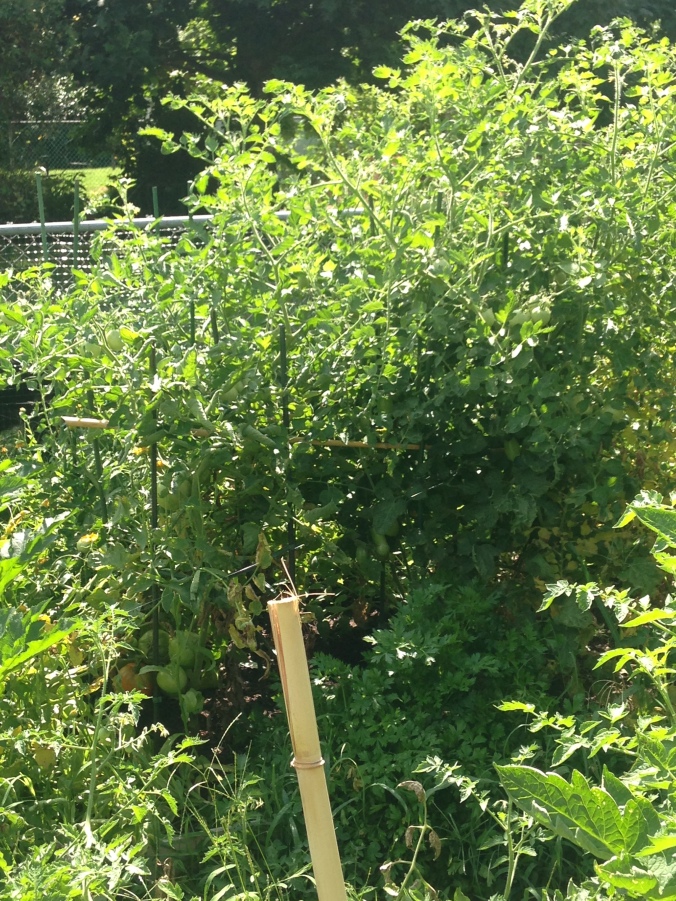
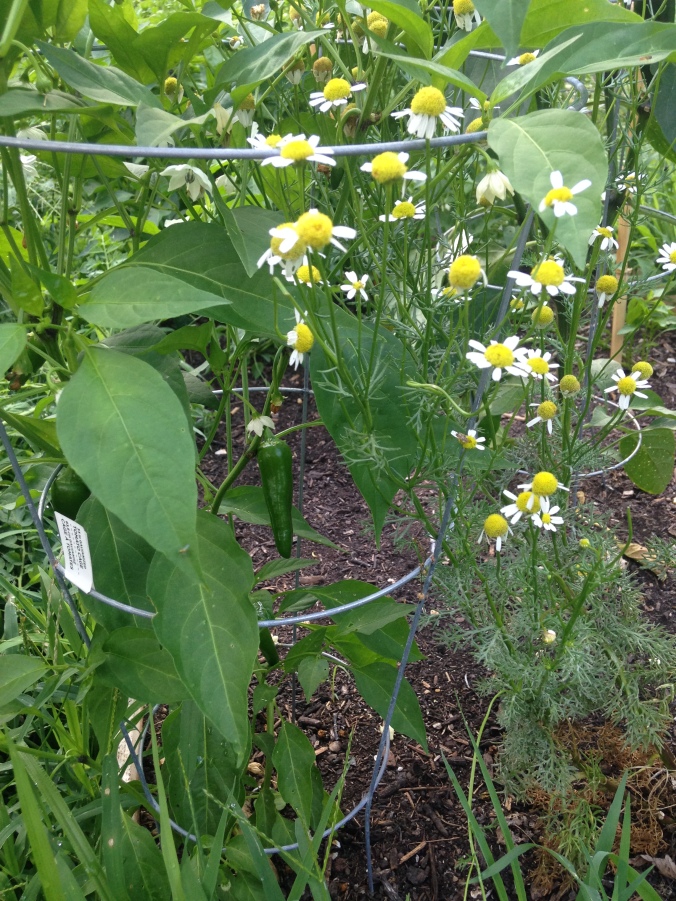
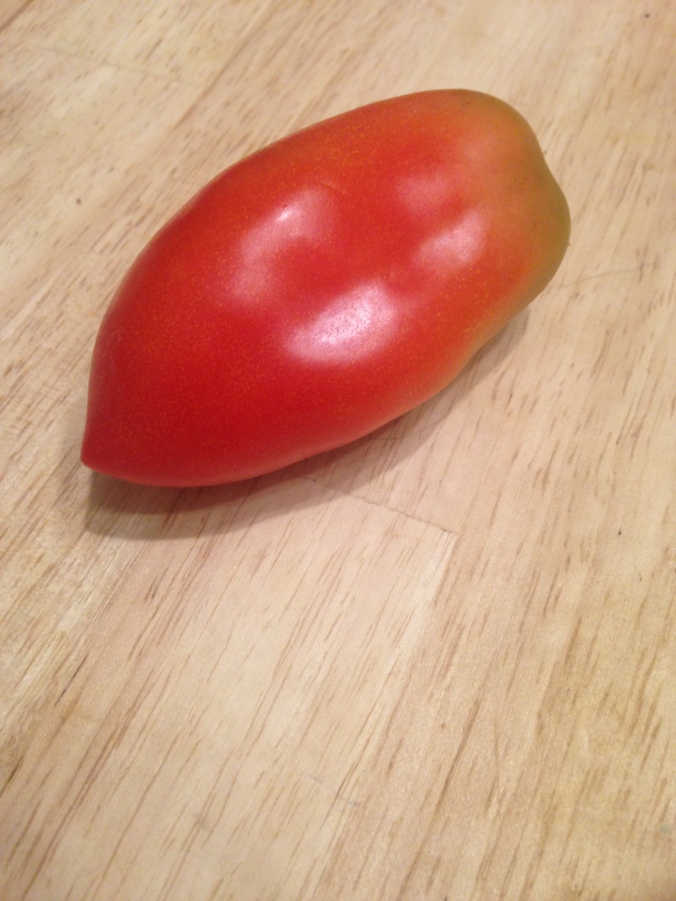
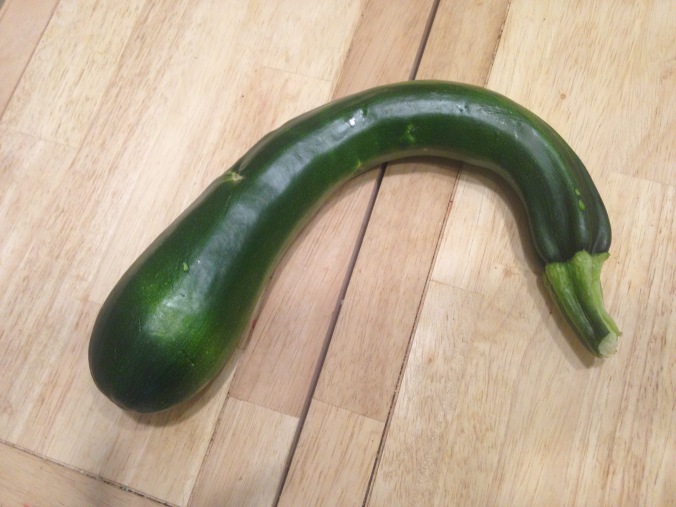
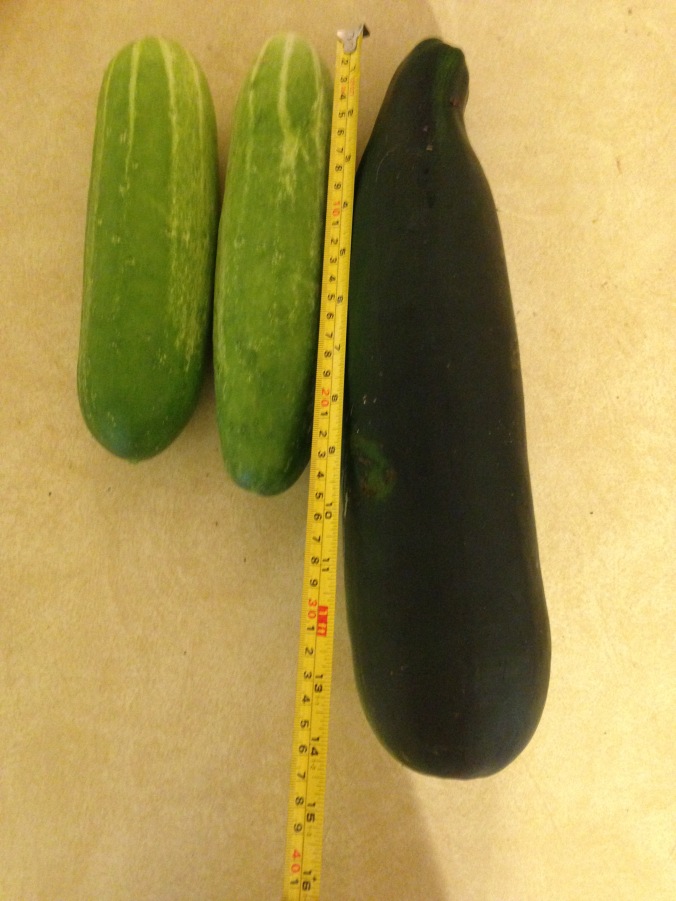
What else am I tracking? Well, I’m glad you asked! I’ll be tracking the weather in my journal this year. Not daily by any means, but tracking the “big stuff”. Like when temperature went to -2 degrees. Or when there is unseasonably warm 60 degree weather in December, followed very quickly by a blast of frigid air. This could impact bug level and could be useful to note in comparison to noted garden pests (and beneficial bugs) this year. Towards the spring and summer months, noting the weather could help me see if there is a possible connection to plant disease susceptibility (or if it is tied more directly to the variety). Some varieties may just end up being less fit for the environment I have to offer. Heirlooms, however, due to their genetic diversity and passing down of traits, are extremely helpful for this compatability issue.

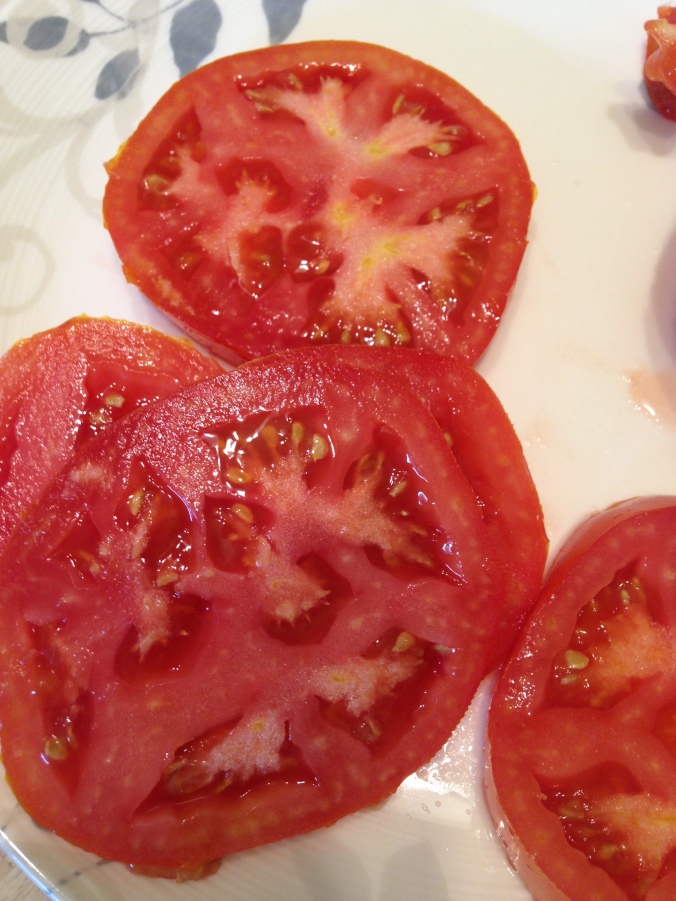
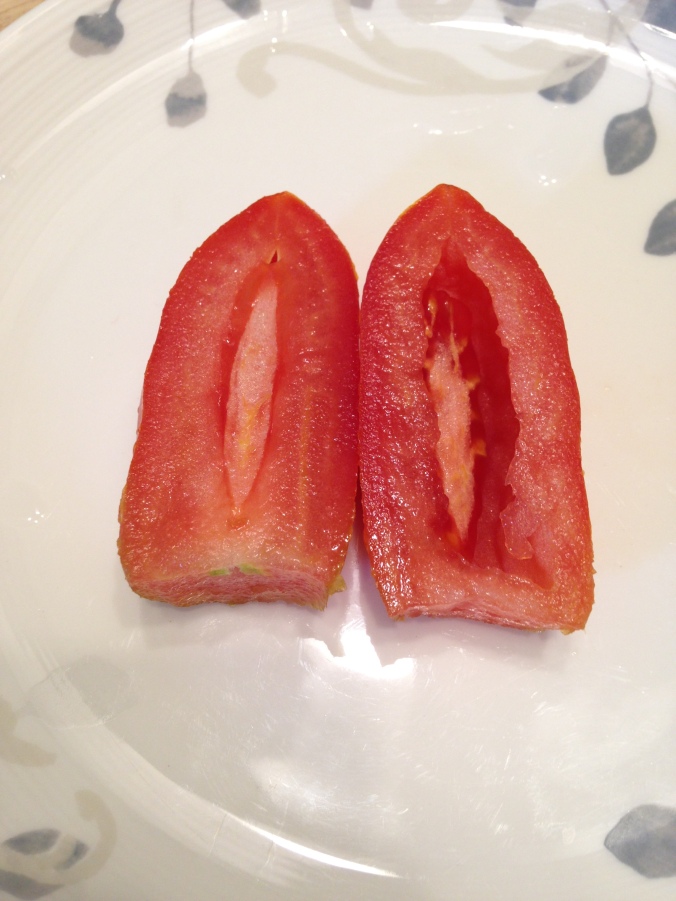
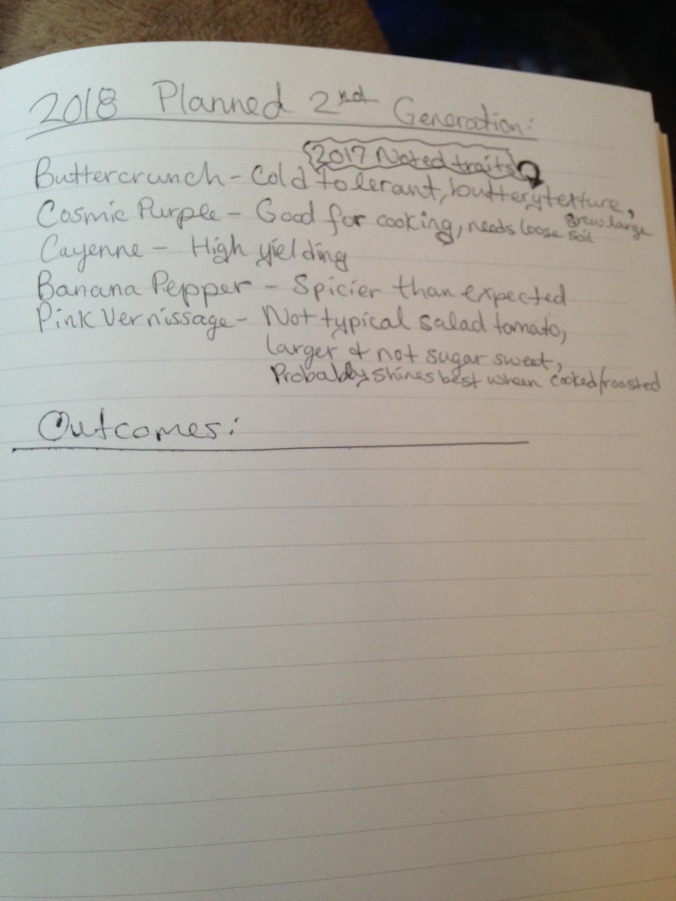
And also to note for you fellow seed savers of heirlooms: I’ll also be noting which varieties are my second generation plants. In other words, what plants were grown from my 2017 saved seeds? What were their noted characteristics?

image

I also am brainstorming some potential crosses of tomato plants, thanks to the inspiration I found in “Epic Tomatoes”, but that is a post for a different day.


Hopefully, this post has fed both your curiosity and creative genius. Time to get curled up by a fire and start brainstorming, researching, browsing seed catalogs, and JOURNALING.

Craft your garden! It’s never too early.

Reflecting on 2017

Hello reader,

It’s almost a new year and there is an arctic blast of chilly air on the way. In the meantime, I’ve found myself reflecting on the last garden season as well as looking forward to the 2018 garden. To some, gardening is a summertime hobby. To me, and many of you, it’s a year round hobby. Spring is the time for seed starting and caring for young seedlings. There are also certain plants that are being planted and some that are being harvested already. Summer is the heart of gardening and is when a lot of the harvest of delicious fruits and veggies is in full swing. Fall time, the garden is slowing down and begins to lose its vigor. For some, a fall garden begins. For others, it’s time to do some fall cleaning and remove plants and cages used for support (such as for tomatoes). Finally, winter arrives. A time of rest for both the avid gardener and the garden itself. There are no more plants that are actively growing (unless you are in a climate that allows it). I look out the window to the empty garden boxes, and find myself reflecting on the 2017 garden. We were extremely blessed this past year. We grew most of our garden from seeds as opposed to buying plants, which made me very nervous since I’ve never had much luck in this area before. This year, I read and read some more for tips and asked friends for advice.

Let’s recap what happened in 2017:


This slideshow requires JavaScript.

In late January, the chives were planted from seed in large yogurt containers. It ended up that these seedlings were accidentally dropped and replanted a couple times – but we ended up with healthy plants in the end! The planning of the garden began, and I drew layout after layout and the garden STILL looked differently than planned. I also started parsley from seed.


Between late winter and the beginning of spring, my husband and I built the garden boxes for raised beds (okay, it was mostly him). I ordered some seeds from Baker Creek to give them a try, and in mid to late February, I used a heating pad to help germinate pepper seeds. This did the trick for us, but there are many ways to help them germinate – just by placing them somewhere that is warmer (but keep in mind safety!) At the end of February we also started our first raised bed with cool weather plants – chives, lettuce, carrots, and spinach (later on, we added beets). We also figured out a twin size fitted sheet works GREAT for frost protection over a 3×6 raised bed!


By mid March, our parsley had true leaves and the pepper seedlings had sprouted and were beginning to have true leaves. The tomatoes were started from seed, and had true leaves before we knew it! I was nervous that the peppers and tomatoes wouldn’t survive much longer, truth be told, but kept hope and remained positive! We did lose some seedlings due to drying out outside or other unknown reasons, but had enough for an abundant garden.


Mid April, we were able to begin harvesting spinach and the lettuce was just about ready for us. The peppers only had a few true leaves, but the tomatoes were growing quickly. I began to wonder if the peppers were stunted for some reason, and if we’d be stuck without any plants to produce peppers.


Our first carrot and beet were harvested at the end of May. They were beautiful and delicious! At the beginning of May, though, we had frozen our spinach harvest. I went out into the rain, braving the weather, and brought in all the spinach that was ready to harvest, so it wouldn’t end up going to seed.


Right after the 4th of July, we harvested our first tomato: Pink Vernissage. We also harvested a batch of green beans and a few jalapenos. Squash, cucumbers, other peppers, and other tomatoes ripening (the next tomato being Jet Star, then San Marzano, followed by Better Boy). Through July, August, and beyond, the garden harvest was continually in full swing!


We had over 100 tomatoes – I believe most of which were San Marzano, a decent squash and zucchini harvest, and enough cucumbers for two batches of pickles with some to spare.


Next year, San Marzano will be making a return. The question is how many to plant?! And what else will be making a return in 2018? Stay tuned!


During 2017:

We preserved:

Bread and butter pickles

Freezer pickles

Zucchini relish

Jalapeno jelly

And froze:

Tomatoes

Yellow Squash

Zucchini

Carrots

Spinach

In total, we made:

Garden veggie soup

Carrot top pesto

Spaghetti sauce

Jalapeno jelly

2 different pickles

Roasted beets

Spinach alfredo

Lasagna with frozen spinach

Zucchini bread

Zucchini Relish

Salad – that included calendula

Fajitas

… and countless other things using our garden goodies! With the plan to make squash patties using our frozen shredded squash in the near future.


Speaking of freezing the harvest, although we’ve enjoyed using the carrots and spinach already, we recently enjoyed the San Marzano tomatoes we froze. They made an AMAZING pasta sauce!

IMG_1706.JPG

The hard work paid off, and while there has been a chill in the air, I can stand by the window with a cup of hot tea in my hands, smelling the pasta sauce cooking on the stove, and look out at the snowy garden imagining what is to come in 2018.

IMG_1653.JPG

We had learning experiences, such as NOT using the egg containers for seedlings, but had many successes (thank goodness!).  So much of gardening is up to how nature decides to cooperate, and we were overall treated with kindness this year. Here’s to the New Year! Now to look through the seed catalog from Baker Creek for the 100th time… And check back later for when I discuss what we are hoping to do differently and some changes to our 2018 garden we hope to make (such as irrigation!)

Have you reflected on the past gardening year? This is the perfect time to start a gardening journal and make notes of reflection and ideas for the next garden season!


Recipe for spaghetti sauce inspired by:

http://www.geniuskitchen.com/recipe/fresh-tomato-spaghetti-sauce-10837

The Steps to Amazing Garden Tomato Spaghetti Sauce:

  1. Thaw 1 gallon freezer bag of San Marzano tomatoes.
  2. Bring to a boil in large pot.
  3. Add some other ingredients: around 2-3 diced onions (we had leftovers from a different recipe), dried herbs/spices (such as basil, oregano, parsley, and red pepper flakes) to taste, a pinch of sugar or a little honey, salt and pepper, 2-4 tablespoons butter, some olive oil, and 4-6 teaspoons garlic.
  4. Cook in a skillet some Italian sausage and add to the sauce. Or, if you prefer, add some meatballs.
  5. Shred some fresh parmesan, and toss a bit into the sauce.
  6. At this point, add a medium size can of tomato paste to help it thicken. The sauce should cook for a while, uncovered, to thicken.
  7. After it’s cooked, you can add a bit of heavy whipping cream if you want a rich and creamy sauce!
  8. Serve that sauce over pasta of choice, or some zucchini noodles. YUM!


Well, I suppose that wraps up the gardening year of 2017. I hope you’ve all enjoyed following along and, hopefully, have been learning along with us and enjoying your own gardens! Happy New Year and good luck to everyone in the upcoming garden season! Craft your 2018 garden!


Fall Garden?

It is now the month of October. The month of pumpkins, winter squash, and planting of fall crops such as lettuce, spinach, beets, and other frost resistant plants. It is a month of scarves and hot coffee nestled between your hands, the smell of pumpkin spice lingers in the air wherever you go. It’s the month of pretty fall foliage, Halloween, pumpkin patch visits, and corn mazes.

Isn’t it?

Well, by looking at our garden this year… You’d probably guess October was just another month of summer.

When I went for a garden stroll, I couldn’t believe the veggies that needed picked and the health of many of the plants that are usually done for the summer by now. We even have plants that have self seeded from tomatoes and lettuce! The “volunteer” tomatoes are blooming and the lettuce is preparing to bolt. We hadn’t paid as much attention after the squash and cucumbers succumbed to mildew and wilted away. We figured it was that time of year and the garden was wrapping up, therefore it would be time to figure out where to put some fall crops. We kept waiting, and waiting, and waiting some more but the plants have remained tall and green. Surely it is not still producing, I thought to myself. Well, think again!

I needed an “adventure” (fall colds and other things apparently did not get the same memo as the garden that it is still summer weather). Here are some photos from today for you to enjoy:

imageimageimageimageimageimageimageimageimage

Pic of Peppers

Hello readers,

I hope your gardens are still thriving! Our tomato plants look like they will be wrapping up soon and so do our squash, but our peppers are just getting started!

image

July 27th, our first Banana Pepper was harvested.

image

July 29th we harvested our 2nd Banana Pepper! The plants are LOADED with more!

imageimageimage

We also harvested about a dozen Jalapeno Peppers on July 29th, and finally on July 31st we had the time to finish up some canning (wrapping up canning week a bit late!). We made Jalapeno Pepper Jelly using a recipe by Ball Preserving and it is OH SO GOOD! I’m quite picky about what recipes we use for canning because of food safety.

image

Today, we harvested 3 Orange Bell Peppers (one accidentally was left out of the picture), and 2 Cayenne Peppers. There are so many more peppers on the way and the plants are getting huge! It must be their season now! We’re hoping to later make Picante and Cayenne Powder.


Link to Jalapeno Pepper Jelly: 

https://www.freshpreserving.com/jalapeno-jelly-recipe-%7C-jalapeno-recipe—ball-fresh-preserving-br1247.html

Heat Wave

Hello reader,

We’ve been in a bit of a heat wave this week (triple digit heat index!), and so this Saturday morning was spent trying to beat the heat by getting out in the flower bed before the heat had a chance to kick into gear. My mom came by to help (it has gotten a little neglected lately and is a big task), and what should I find during the work but a Parsley Worm! You may cringe at the fact we found any sort of “worm”, but the name is deceiving. It is actually the name of the caterpillar that later will develop into a Black Swallowtail Butterfly. I’d read somewhere (during the winter months) that when planting parsley (see my previous posts that show you how we grew it from seed this year), you want to plant extra in case of parsley worm. You certainly don’t want to kill them off! So I went out and planted parsley in the veggie garden as companions, and planted some in the flower bed for visual complexity. Okay so it wasn’t for the complexity, I had too much extra. BUT I did think it may bring the butterflies to THAT parsley since it was near flowers providing a bunch of nectar. And that plan worked! As far I’ve noticed, no caterpillars are in the veggie garden, but this little guy was found in the flower bed crawling along a parsley plant. A quick Google search confirmed my suspicions of it being a Parsley Worm.

image.jpeg

Parsley Worm found on the parsley in the flower bed.

image.jpeg

It looks like the caterpillar is quite happy, despite this heat wave.

And so are the veggies. I noticed in my morning walk around the yard recently just how many flowers are on our peppers! And we somehow still have tomato flowers despite this heat! I’ve tried to capture the plants in some photos for you all, although the flowers on the peppers were difficult to capture well:

image

image

image.jpeg

image.jpeg

Thank you for reading! Tomorrow will hopefully be another canning day to wrap up Canning Week. Stay tuned!

Bonus Post of the Week!

Hello reader,

It’s been canning week and for a change of pace, here is a bonus post for you!

It’s been a good season for tomatoes in the garden so far (although it just never feels like there’s enough tomatoes!). We have had over 25 San Marzano tomatoes as of this week. I lost count after 25 or so, and am not sure what is considered normal yield, but we’re thrilled with the outcome! These were grown from seed and are still loaded with green paste tomatoes. We’ve also had a lot of the Pink Vernissage (also grown from seed). The hybrids (Better Boy and Jet Star) so far have been a bit more disappointing. Their disease resistance pales in comparison to the Pink Vernissage and San Marzano, and although we’ve had a few slicing tomatoes it doesn’t seem to be at the same rate. Hopefully that will change! They are huge plants, though, and there’s a lot of green tomatoes growing. Maybe they just take more time since they are larger tomatoes. I have to admit while we are observing the differences, I’m starting to think about heirloom varieties to try next year. Too soon? Maybe, but that’s all part of improving the your garden over the years! We even have pulled up a tomato plant that wasn’t healthy, I guess you could say it’s Garden Game Theory!

But I veer off track. You are probably wondering what the point of this bonus post is! Well, if you are having an abundance of tomatoes, but prefer to freeze instead of can, you’re in the right place.

For freezing your tomatoes, you can break it down to these 5 easy steps:

1) Rinse and clean the tomatoes

2) Boil the tomatoes with skin for a minute or two (if you’ve cut the tops off, you may see skin curling off when it’s ready to come out of the boiling water).

3) Transfer the tomatoes to a bowl or pan of ice water.

4) Peel the tomatoes and discard skin.

5) Fill a freezer bag and squeeze out the air. Label and date.

image

image.jpeg

The bag labeled “San Marzano” has a couple of the slicing tomatoes added as well. This oughta be a delicious sauce during the heart of Winter! If we can wait that long! Pink Vernissage will likely be added to chili. Yum!

That’s it! Easy enough, right? Good-bye to the days of finding tomatoes went bad because you couldn’t eat them fast enough! Good-bye to worrying about canning the beautiful red fruits!


Here’s a bonus link we found useful about freezing tomatoes to go with the bonus post:

http://www.hgtv.com/outdoors/gardens/garden-to-table/freezing-tomatoes


Have fun saving your garden goodies! Thank you for reading!

Canning Week Kick-Off!

Hello reader,

l’ve decided to deem this week “Canning Week”. We have had enough of some veggies to begin processing some of the harvest. Ya-hoo! I have so many memories of my mom canning during garden season. The memories of clinking glass, the aromas of the kitchen, and the popping of lids come flooding back during garden season. Now, I’m beginning to carry on her legacy (with a few questions I still find myself asking her). My husband and I bought ourselves a water bath canner, canning utensils, jars, and all of the ingredients we needed that we didn’t have on hand. There’ll be three canning days this week that I’ll slowly unveil to you all. The first one is a different process than I’ve ever experienced. Those popping lids? There is only silence this time. We’re using our freezer! That’s right, the freezer. No pressure canner, no water bath canner, only the freezer. I found a recipe through Taste of Home (link at the bottom of post) for… Drum roll please… PICKLES!

So there you have it. The first day of canning week is for Freezer Pickles.

imageimageimageimageimageimage

This is not a tutorial for how to do canning, so I’ll leave the directions to the recipe at the end of the post. We ended up with way too many onions so a lot were left out of our jars. And we almost forgot to check that our jars were freezer safe (luckily, they were!)

We can’t wait to take our first jar out of the freezer to try out! If they turn out, we can even start to share with friends and family. One of my favorite parts!

That wraps up the first canning day. We’re feeling a bit tuckered out from the prep of it all! There was a lot of cleaning and sanitizing involved in the process, but at least there was no actual cooking involved for this recipe! Our thermostat and A/C appreciated that, too.


Recipe for Freezer Pickles here:

http://www.tasteofhome.com/recipes/freezer-cucumber-pickles


Hot Days of Summer

Hello reader,

The days are getting hotter and the garden is growing bigger! I’m beginning to go through a canning cookbook I have on hand and look through ideas of storing some of our bounty. We both are hoping to make some pickles, canned tomatoes, and maybe some picante sauce my mom used to make. As the garden continues to grow, so does our hope for a bountiful year! Admittedly, last year’s garden was unproductive and overall a sad outcome. Not one zucchini and maybe one or two tomatoes, with a lot of what I’m guessing was blossom end rot and sad peppers that never did much of anything. We planted late, didn’t amend our soil, and bought plants from the store (that were already in bloom and even growing fruits. Apparently it is a “no-no” to plant anything that is blooming. Should have picked off those blooms).

This year, we had more time to plan. We built raised beds, filled them with nutrient dense soil (trying to be careful not to over do nitrogen), grew most plants from seeds, and planted at a more decent time. We did NOT foresee the 2 foot paths not being wide enough! Plants have branched out and fallen over (I’m looking at you tomatoes and borage!), so it’s a bit trickier to get around now. Next year we will stake everything better and EARLIER! And I’m happy to report that the once stunted pepper seedlings are producing a lot of peppers. And although one of my hybrid tomatoes and a couple of pepper plants look to be fighting with disease, we are managing to get a good crop. We’ll be looking into what to do with the problem plants, starting with removing any questionable leaves/stems. I’m guessing that the tomatoes have just been so full and low to the ground for so long, that the airflow had been insuffiecient which invited some sort of disease to begin. It could also be that they are thirsty and not diseased, but either way we are clearing out the leaves/branches that are yellow. I can’t remember a year during my life that the garden didn’t have yellow tomato leaves, even while growing up.

Overall – this garden has been one of the best yet!

Check it out:

image

San Marzano Tomato plant – branches have fallen over!

image

Peppers, Chamomile, and Calendula.

image

More pepper plants.

image

Green bean patch. Extremely productive plants! Borage is buried in the back as a companion plant.

image

A different angle of one of the pepper gardens. Purple basil is peeking out in the middle.

image

Ozark Giant from Baker Creek Seeds.

image

Jalapeno Mild from Ferrymorse.

image

So many layers of different plants! Companion planting can make a garden visually interesting while helping it grow!

image

Going to need to harvest some of the chamomile!

image

Staked too late in the season and these have taken on the shape of a bush. They are on the ground (oops) but are still thriving. Pink Vernissage from Baker Creek Seed and San Marzano from Ferrymorse.

image

Look at that depth! I think I see some red tomatoes in there.

image

The tomatoes have fallen into our squash!

image

San Marzano – Beautiful!

image

The Jet Star and Better Boy are T – A – L – L! They outgrew their cages!

image

Pepper and Chamomile – Best of friends!

image

Another photo of the tomatoes that are now growing into the squash. They are tough to contain this year!

image

Jet Star. SO GOOD. Put these on some take-out burgers. No shame.

image

Strolling through the zucchini (yellow squash is in the front). These are not in raised beds, so they start at the ground and go up to the waist level!

image

A size comparison – hand and zucchini leaves.

image

Our first ripe San Marzano and our second Jet Star.

image

Jet Star Tomato.

image

San Marzano Tomato.

image

Not sure what happened here, but it’s a fun shape! Also looks like our very own Peter Rabbit Cottontail tried it out.

image

San Marzano – Now that’s what I’m talking about! Just look at all of that tomato pulp and minimal seed cavity! Delicious, too!


It’s been a tough garden season for many around here, so we are absolutely thrilled and feeling blessed for our outcome so far. Not bad for not using any pesticides, huh?

If you’re having a tough year for your garden as many are, don’t lose hope! Take notes during this season, and when the months become full of cold chills and hot cocoa, take out those notes and start researching how you can improve the next season. Each season is different and brings new challenges. We are always learning! We had an unproductive and sad garden last year – And already feel the joy of persevering. You can, too!

Have fun continuing to craft your garden!